
Step 1
First, you need to find the right heater for your individual needs. In this case, an Airtronic air heater with 2 kW heating performance was chosen.
Step 2
An installation location is chosen for the heater –
under the vehicle, to save space.


Step 3
A special holder means the heater is easily attached to the underbody.
Step 4
The exhaust outlet of the Airtronic is connected to the muffler via its flexible exhaust pipe.
This makes the air heater even quieter during operation.


Step 5
The expert makes holes at suitable points in the floor panel for the vents, so that the pre-heated air can get into the interior.
Step 6
And this is what a fitted vent looks like in the interior.


Step 7
For air recirculation mode, the necessary intake air is taken from a protected spot (in this case, the door sill).
Step 8
The air hoses leading from the vents are attached to the diesel heater with hose clamps.

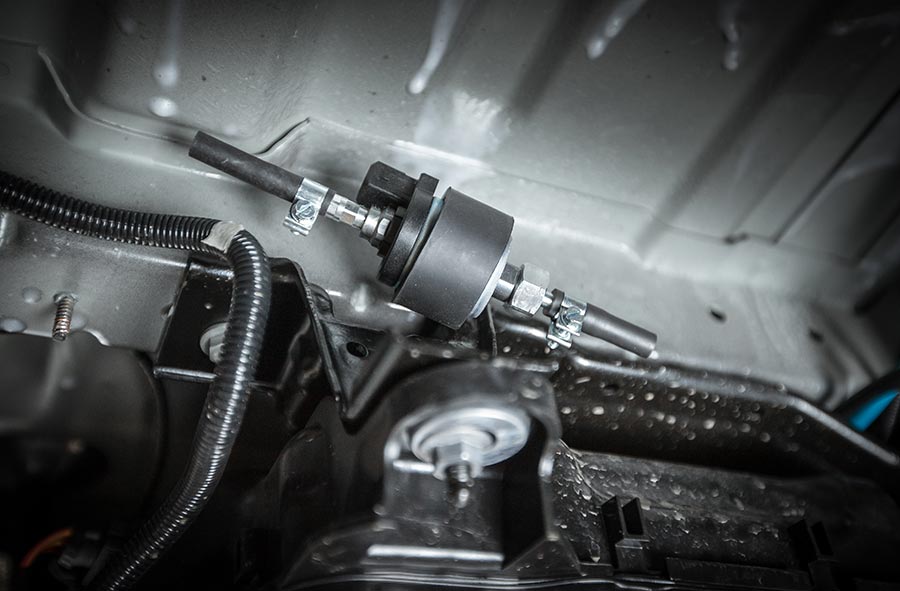
Step 9
The metering pump is integrated in the fuel line between the fuel tank and the heater. It’s important to remember to fit the metering pump with the pressure side facing up.
Step 10
The heater is connected to the cable harness.


Step 11
The cable harness for the power supply and operation is routed to the inside ...
Step 12
... and connected to the battery in the engine compartment.


Step 13
Finally, the control unit of the heater is installed. Here, the chosen remote control was the EasyStart Web, which controls the heater from any distance.
Step 14
With the EasyStart Web, the heater can be operated by a few taps on a smartphone, for instance. This way, the heater can be activated anytime, anywhere.


Step 15
All ready! After a few hours, installation is complete. The exhaust and combustion air ducting, heating-air ducting, fuel line, electrical connection and vents in the interior are all fitted and ready to go.
Step 16
After installation, the original underbody paneling is re-attached. This keeps everything safely stowed away and protects the heater from dirt.
